System Configuration
This guide walks through installing Home Assistant OS on your Raspberry Pi and configuring it for Exergy integrations.
Prerequisites:
- Assembled Raspberry Pi hardware (Hardware Setup)
- Components for your chosen flashing method (see Raspberry Pi overview)
Step 1: Flash Home Assistant OS
There are two methods to install Home Assistant OS on your NVMe SSD. Choose the one that fits your setup.
Method A: Network Installer (Recommended)
This method uses the Raspberry Pi’s built-in Network Installer. It’s simpler if you have a display and keyboard available.
What you need:
- HDMI cable (some cases have full-size HDMI ports; otherwise use Micro-HDMI to HDMI)
- Monitor or TV with HDMI input
- USB keyboard
- Ethernet connected to your router
Steps:
-
Connect display and keyboard
- Plug HDMI cable into your Pi and monitor/TV
- Connect USB keyboard to Pi
- Ensure Ethernet is connected
-
Power on the Pi
- If your NVMe SSD is blank (no OS installed), the Pi will automatically boot into the Network Installer
- You’ll see the Raspberry Pi logo, then the installer interface
-
Select Home Assistant OS
- Use the keyboard to navigate the installer menu
- Select Other specific-purpose OS
- Select Home assistants
- Select Home Assistant OS
- Choose the version for your Pi model (e.g., Pi 5)
-
Select your NVMe drive
- Choose your NVMe SSD as the installation target
- Confirm the selection
-
Wait for installation
- The installer will download and flash Home Assistant OS
- This may take 5-15 minutes depending on your internet speed
-
Reboot
- Once complete, the Pi will reboot automatically
- You can disconnect the HDMI and keyboard after this
Method B: Raspberry Pi Imager (Alternative)
This method flashes the NVMe SSD from your computer before installing it in the Pi case. Use this if you don’t have a display/keyboard, or prefer to flash beforehand.
What you need:
- NVMe-to-USB adapter/enclosure
- Computer (Mac, Windows, or Linux)
Steps:
-
Connect NVMe to your computer
- Insert the NVMe SSD into your USB adapter
- Connect the adapter to your computer
-
Download Raspberry Pi Imager
- Go to raspberrypi.com/software
- Download and install the Imager for your operating system
-
Open Raspberry Pi Imager
-
Select your device
- Click Choose Device
- Select your Raspberry Pi model (e.g., Raspberry Pi 5)
-
Select the operating system
- Click Choose OS
- Select Other specific-purpose OS
- Select Home assistants
- Select Home Assistant OS
- Choose the correct variant for your Pi
-
Select storage
- Click Choose Storage
- Select your NVMe SSD (be careful to select the correct drive!)
-
Write the image
- Click Next
- When asked to customize settings, select No (Home Assistant handles this)
- Click Yes to confirm
- Wait for the write and verification to complete
-
Install the NVMe in your Pi
- Safely eject the drive from your computer
- Install the NVMe SSD into your Pi case/HAT
- Connect Ethernet and power
Step 2: First Boot
After flashing, the first boot takes longer than normal. Home Assistant needs to:
- Resize partitions to use the full SSD
- Download and install updates
- Initialize the database
Wait 10-20 minutes before attempting to access Home Assistant. The Pi’s activity LED will flash during this process.
Step 3: Access Home Assistant
Once the first boot is complete, you can access Home Assistant in several ways.
Option A: Home Assistant Companion App (Mobile)
-
Download the Home Assistant app:
-
Open the app and tap Continue
-
The app will automatically search for Home Assistant instances on your network
-
Select your Home Assistant when it appears
Option B: Web Browser (Recommended)
-
Open a web browser on any device connected to the same network
-
Navigate to: http://homeassistant.local:8123
-
If that doesn’t work, try the IP address method below
Option C: IP Address (Fallback)
If homeassistant.local doesn’t resolve on your network:
-
Find your Pi’s IP address using one of these methods:
- Check your router’s admin panel for connected devices
- Use a network scanner app like Fing (mobile) or Advanced IP Scanner (Windows)
- Look for a device named “homeassistant” or the Pi’s MAC address
-
Navigate to: http://[IP_ADDRESS]:8123
- Example:
http://192.168.1.100:8123
- Example:
Step 4: Account Setup
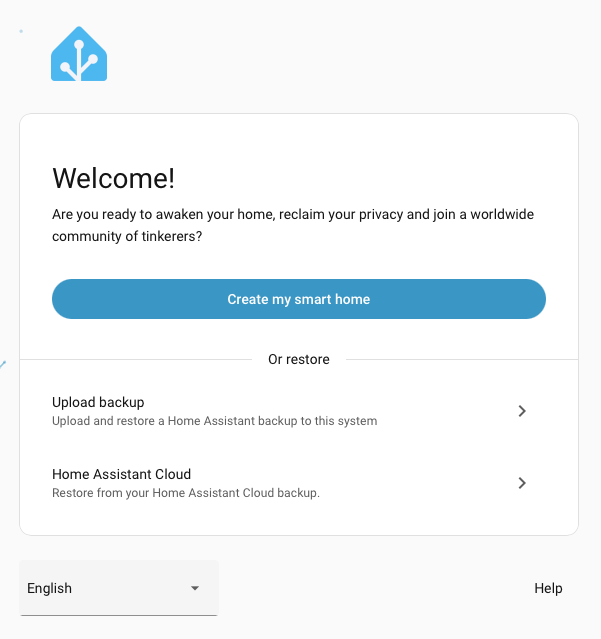
When you first access Home Assistant, you’ll see the onboarding wizard.
1. Welcome Screen
Click Create my smart home to begin setup.
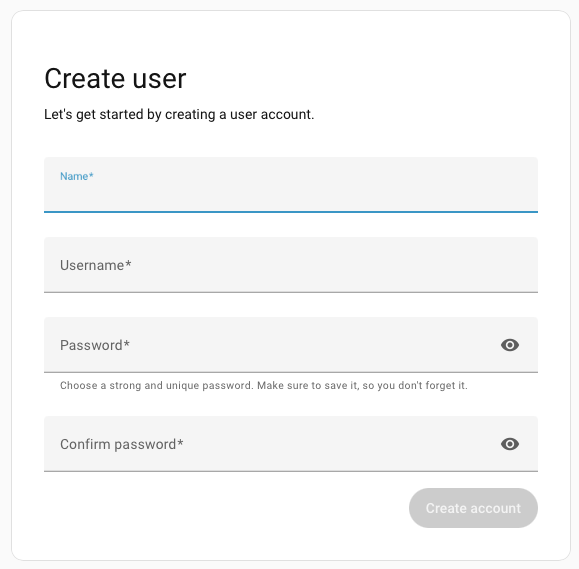
2. Create Your Account
Enter your name, choose a username, and create a strong password. This is the main administrator account - keep these credentials safe.
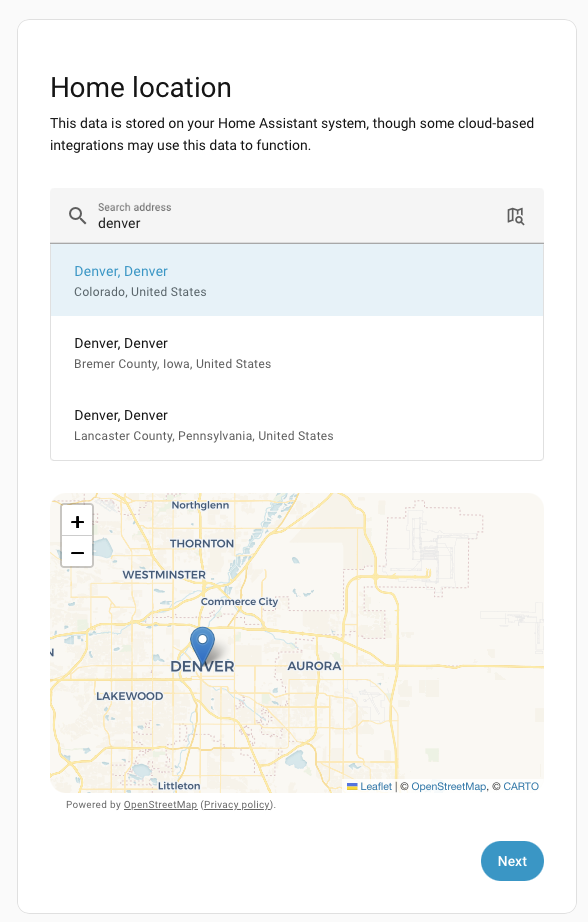
3. Set Your Home Location
Give your home a name, search for your location on the map, and set your timezone, unit system, and currency. Location is used for weather and sunrise/sunset automations.
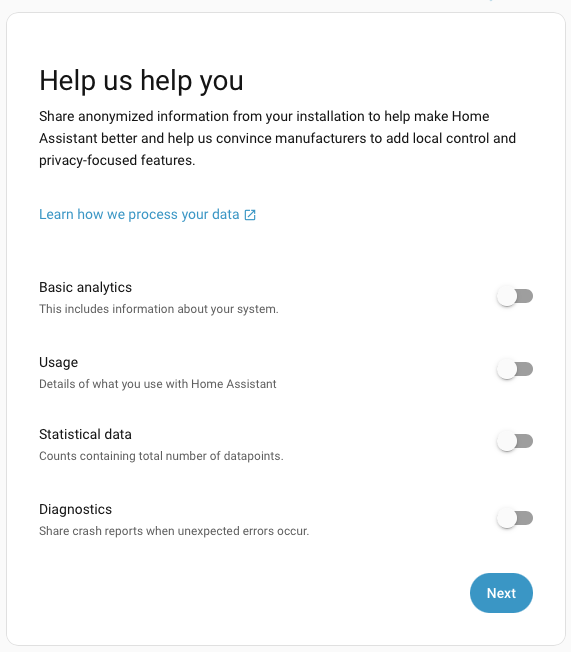
4. Privacy Settings
Choose what anonymous data to share with Home Assistant analytics. All options are optional - you can leave them all off if you prefer.
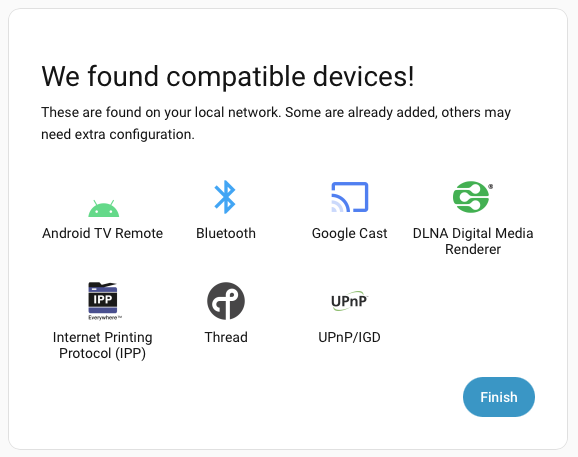
5. Discovered Devices
Home Assistant may find devices on your network. You can skip this for now - we’ll add Exergy integrations later. Click Finish.
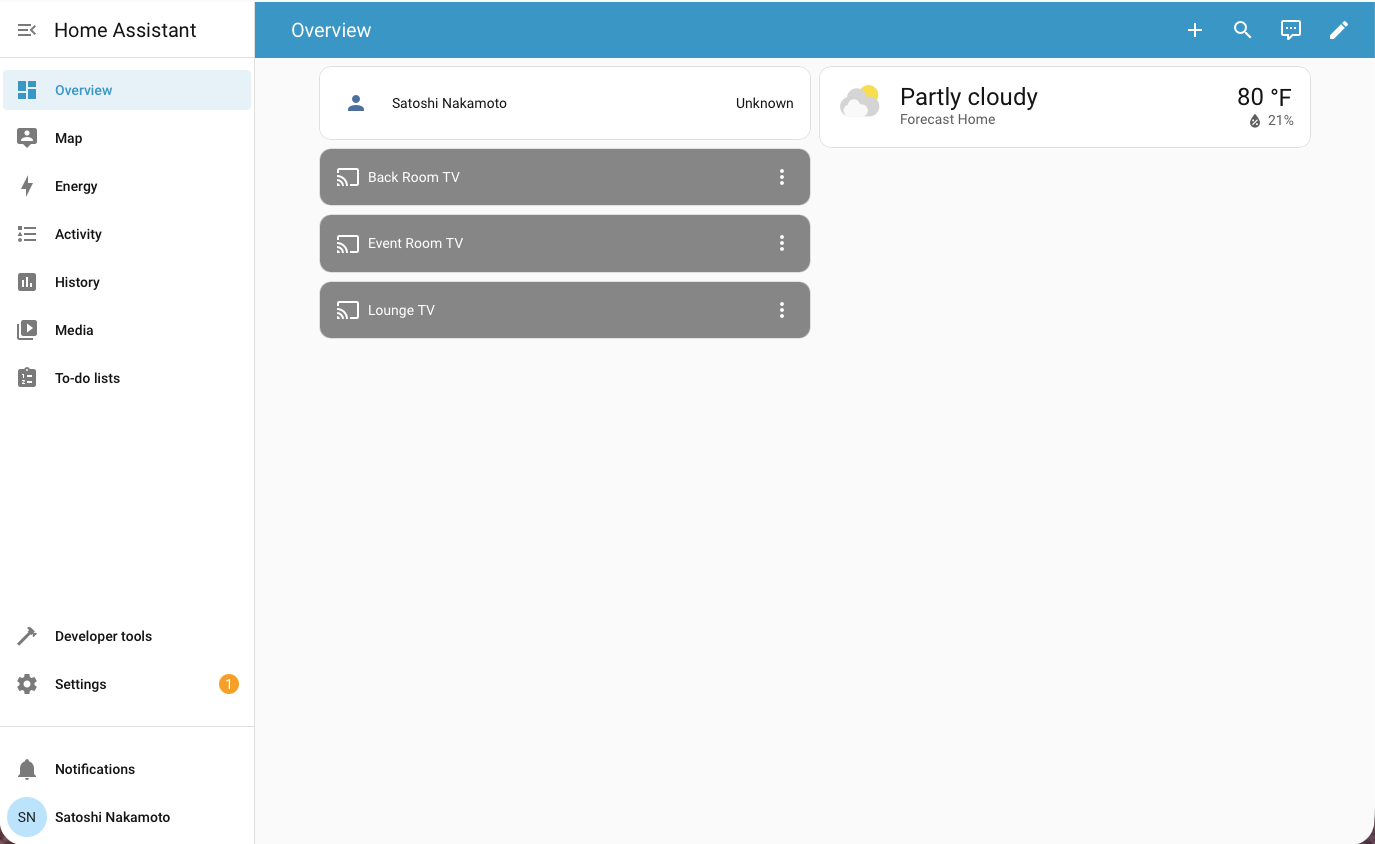
6. You’re In!
You’re now in the Home Assistant dashboard. From here, you can explore the interface before proceeding to install HACS.
Step 5: Install HACS
HACS (Home Assistant Community Store) is required for installing Exergy custom integrations. HACS is not included with Home Assistant by default.
Prerequisites
Before installing HACS:
- Home Assistant version 2024.4.1 or newer (Settings → About to check)
- A GitHub account (free) - Sign up at github.com
- Stable internet connection
Install the Get HACS Add-on
-
Open the add-on repository link
- Click this link from your Home Assistant browser session: Add HACS Repository
- Or manually: Go to Settings → Add-ons → Add-on Store (three dots menu) → Repositories → Add:
https://github.com/hacs/addons
-
Install the Get HACS add-on
- In the Add-on Store, search for Get HACS
- Click on it, then click Install
-
Start the add-on
- After installation, click Start
- Click the Log tab to see the output
- Follow any instructions shown in the log
-
Restart Home Assistant
- Go to Settings → System → Restart
- Click Restart and wait for Home Assistant to come back online
Configure HACS
-
Add the HACS integration
- Go to Settings → Devices & Services
- Click + Add Integration (bottom right)
- Search for HACS and select it
- If HACS doesn’t appear, clear your browser cache and try again
-
Accept the terms
- Read and check all the acknowledgment boxes
- Click Submit
-
Authenticate with GitHub
- You’ll see a device code (e.g.,
ABCD-1234) - Click the link or go to: github.com/login/device
- Sign in to GitHub if needed
- Enter the device code
- Click Authorize HACS
- You’ll see a device code (e.g.,
-
Complete setup
- Back in Home Assistant, the setup will complete automatically
- Assign HACS to an area if desired
- Click Finish
HACS is now installed. You’ll see it in the sidebar menu.
Next Steps
Your Home Assistant is configured and ready for Exergy integrations.
Continue to Exergy HA Integrations to connect your bitcoin miners.